|
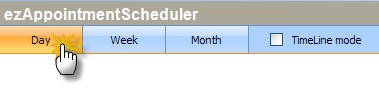
Select Viewing Mode |
  
|
|
Select Viewing Mode |
|
The Appointment Scheduler can display in several Viewing Modes:
Day View
The Day View displays a single day's appointments. This view leaves lots of room to work with appointments, but doesn't allow dragging appointments to another day.
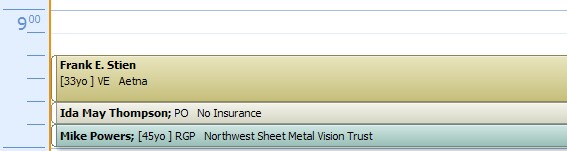
To rearrange the day's appointments, grab the appointment on the far left side (the cursor will change to a arrowed-cross) and drag it to the new location.
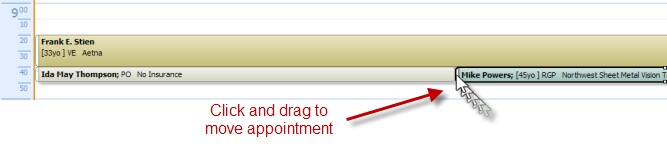
You can also right-click an appointment and cut/copy/paste the appointment.
Week View
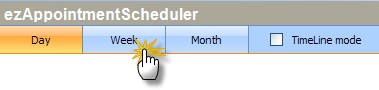
The week view is the typical view used by most offices. It allows a good overview of the day's appointments with the ability to drag/move appointments between days.
![]()
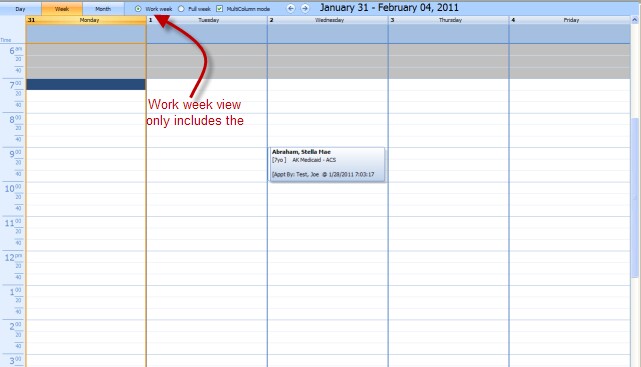
Work Week
The work week consists of the days you selected in the Options screen as your work days (typically Monday-Friday, or Tuesday-Saturday).
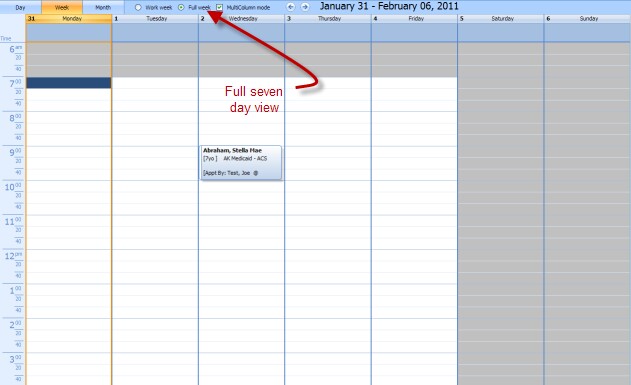
Full Week
Shows all seven days of the week, irrespective of the default work days you have set. This is useful if you schedule patients on a weekend very rarely.
Multicolumn Mode
Converts from the 7 day work week column view to a spread view. The checkbox has no effect in 5 day view.
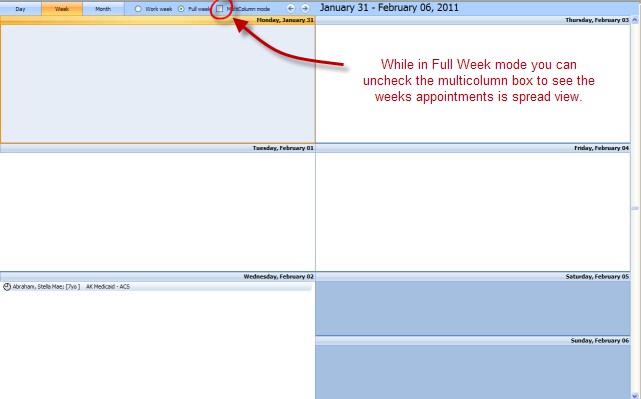
When in this view, there are no displayed timeline tickmarks and although you can double click to create an appointment you must manually adjust the appointment times.
Month View
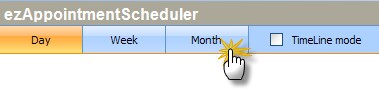
Displays a full 30-day view with all appointments condensed to allow a general overview of the month. Not recommended for creating appointments; as a matter of fact by double-clicking a day while in Month View you will switch automatically to Day View. Right-clicking in Day, Week or Month View will allow you to create or modify appointments.