|
Create New Appointment |
  
|
|
Create New Appointment |
|
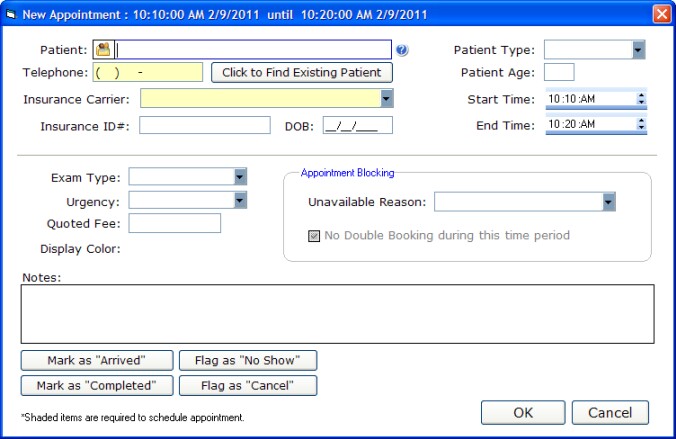
Double-click anywhere in the Main Appointment area and the New Appointment screen will appear. NOTE: The beginning time is based on where you click on the schedule; the time is much more accurate on Day and Week view modes.
Entering Patient Name
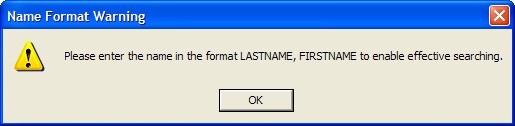
When entering the patient name, it is highly recommended that you use the Lastname, Firstname format (with the comma and space). This is to allow effective searching.
Finding a Patient that Previously Canceled
If a patient is NOT in the patient database, but previously scheduled you can enter the full name (Last, First) and click the Tab key to pull up the prior data. Note that the name must match exactly.
Finding an Existing Patient in the Database
You can enter the first few letters of the patient name and press the Enter key to pull up a list of matches. This works much the same as the QuickFind tool in other modules. Alternatively, you can leave the name blank and click the "Find Existing Patient" button which will display the Patient List with all patients listed alphabetically.
Patient Information
The required information is the patient name, telephone number and insurance carrier. You cannot schedule an appointment without this information. NOTE: If you did not get a telephone number, enter "000-000-0000" to save. This should only be done in rare instances. Other information is optional such as age, patient type (new or previous) and date of birth.
Setting Appointment Times
You can set the appointment times by adjusting the Start Time and End Time. You click on the individual area (e.g. hours, minutes) and use the arrow buttons to adjust up or down. Or type in the numbers. It is also possible (and easier) to drag the appointment box bigger on the Main Appointment screen.
Exam Information
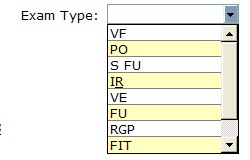
You can indicate the type of examination by using the Exam Type dropbox. These items are customizable in the Customize screen.
The exam "urgency" can also be indicated: Normal, Urgent or Emergency. Finally, the quoted exam fee can also be entered if desired.
Appointment Blocking
You can create special appointments, called Recurring Events, that allow you to signify a Lunch hour or other time out-of-office.
Flags
The appointment status can be indicated with one of the four Status buttons at the bottom.
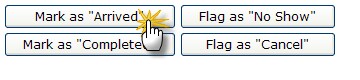
Mark as Arrived
A timestamp is added to the appointment display to indicate the time arrived.
![]()
Mark as Completed
A time-stamp is added to the appointment display to indicate the time of completion.
![]()
No Show
If a patient no-shows for the appointment, you can indicate this.
![]()
Canceled Appt
Rather than deleting an appointment that a patient cancels, it is recommended that you mark it as canceled. This keeps a record of your scheduled appointments for that day and also allows you to reopen the appointment if the patient later changes their mind. Simply click the cancel button again to remove the flag.
![]()
Appointment Icons
![]()