|
Create Rx |
  
|
|
Create Rx |
|
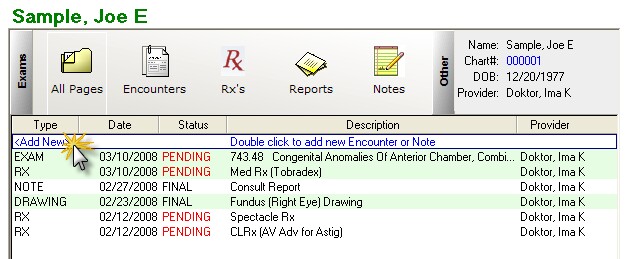
To create a new Rx, open the Encounter List by double-clicking the patient name. Then click the <Add New> line at the top of the list:
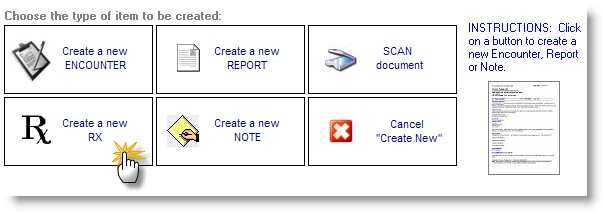
The Choose Type of Item screen will appear. Click the "Create a new Rx" button.
The Multiple Rx Creator tool will display. With this tool you can add up to 4 new Rx's at a time. To begin with a brand new Rx, click one of the "New" buttons on the topmost Rx box:
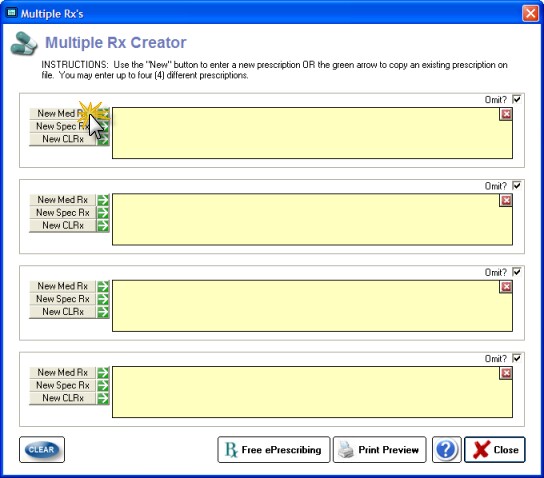
NOTE: If you have already entered a prescription that you wish to re-use, the click the green arrow button to call up the LogBook so you can import the Rx. You will be prompted to save Rx's to the LogBook when closing the Multiple Rx Tool.
Medication Rx
The New Med Rx button will display the Quick Medication Prescribe screen. To begin you must select a medication from the top dropdown screen (or choose one from your Favorite Meds list):
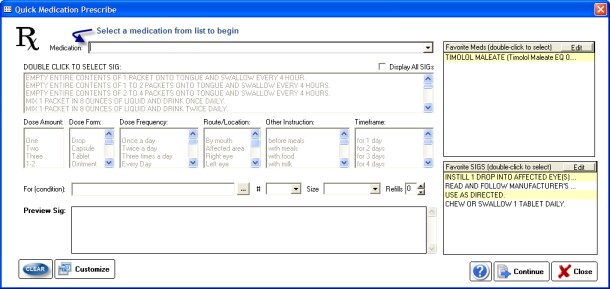
Enter your Sig by using the list choices or use your Favorite Sig. Verify the data in the Preview Box and then click Continue to add to the Multiple Rx list.
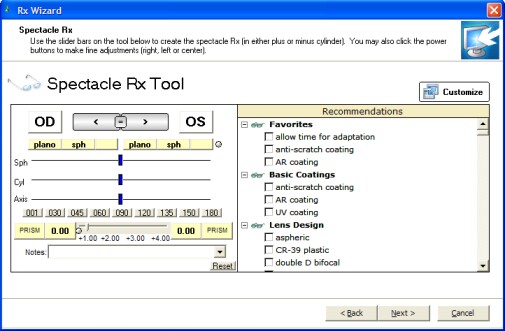
Spectacle Rx
Enter ophthalmic prescriptions by using the slider bars on the Spectacle Rx tool.
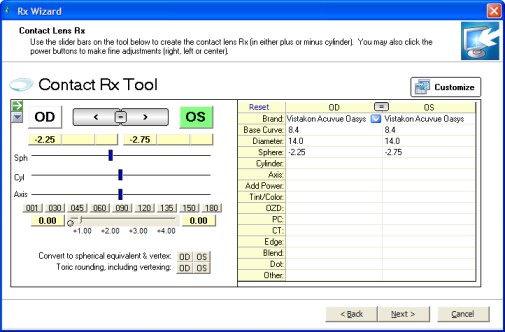
Contact Lens Rx
Enter a contact lens prescriptions by clicking the Brand from the right-side dropdown lists, then using the slider bars to enter the correct diopter power.
Printing the Rx
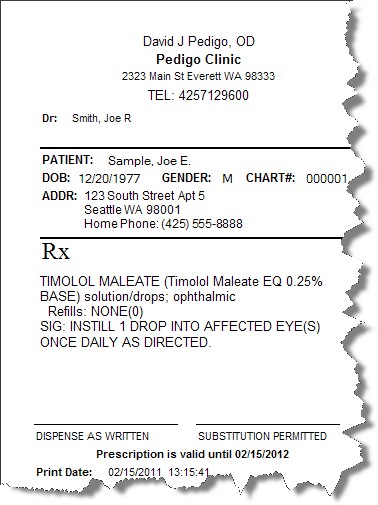
Click the Print Preview button at the bottom to begin the process of printing the Rx.

The Rx Printing Options screen displays. With this tool you can customize your Rx to the type of paper you are using (whether 2 or 4-part Rx paper) or just plain paper. You can also customize what information appears on the Rx. The font of the body of the Rx can also be adjusted. Any changes you make will be remembered for next time as the default (on the computer you make the changes on only).
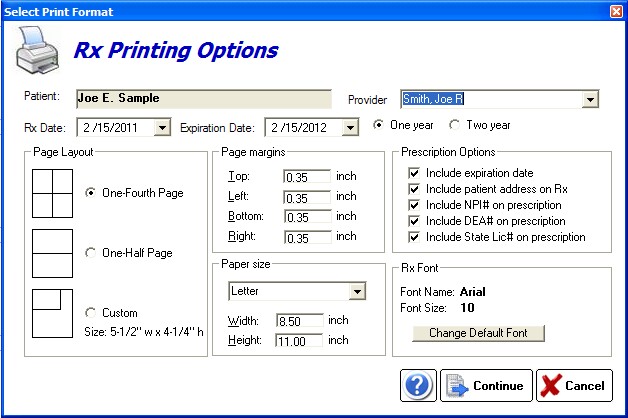
Clicking Continue will display the actual Rx as it will appear. Once you print the Rx, click Close and you will be prompted to save a copy as an editable Report. If you do, the Rx will show up in the Encounter List.