|
Creating a Recall List |
  
|
|
Creating a Recall List |
|
Creating a Recall List is a three step process as shown on the Wizard:
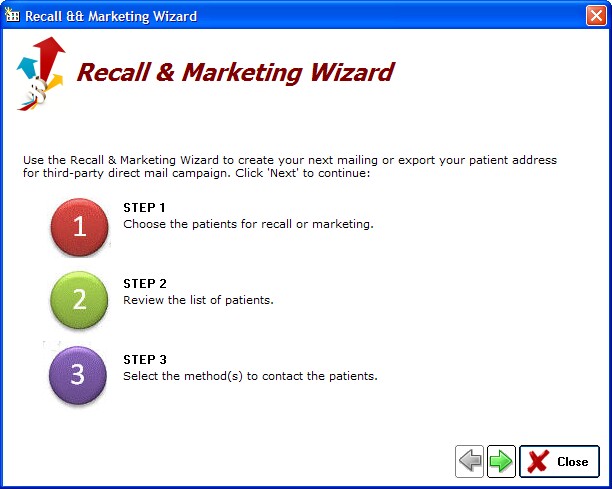
Step 1 - Choose Patients for Inclusion
To begin the Recall process you need to select the Date Range:
Exam Date - selection is by the last exam date on file
Recall Date - selection is by the Recall Date you set (either when finalizing an encounter or on the HIPAA tab of the patient demographics screen)
Acquisition Date - selection is based on when the patient was originally acquired by the practice (date the patient was first entered in the system)
Select the date range that would encompass all the patients you are attempting to Recall. For example, you can select a one month period for the current month using the Recall Date option.
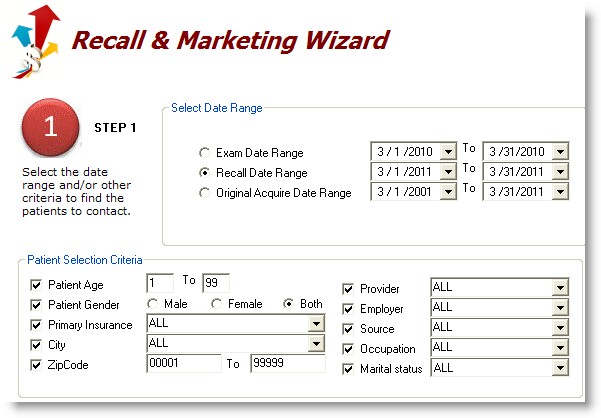
The patient selection criteria allow you to further refine your Recall List by specifying certain required attributes (for example, all female patients over the age of 40). This can be useful for marketing outside the standard recall system.
Step 2 - Review the List of Patients
After clicking the green next arrow, a list of patients found will be presented. This list can be further refined and sorted.

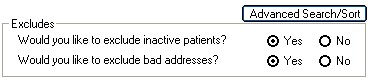
You have the option of excluding certain categories of patients (such as those marked "inactive" or "bad address").
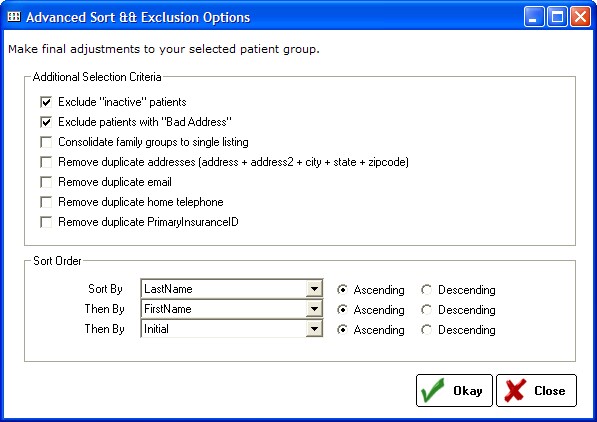
To refine your list even further, click the "Advanced Search/Sort" button. This allows for removal of duplicates from the list (for example, family members at the same address will be consolidated to one mailing). A multi-level sort option is also available.
Step 3 - Select the Contact Method
The last step to creating a Recall is to select how you want the data presented (based on how it will be used). This can be one of five methods:
![]()