|
Windows Vista |
  
|
|
Windows Vista |
|
In order to simplify the process of finding and linking to your database folder from other computers, we highly recommend that you create a Mapped Network Drive. This allows the sometimes arcane network path name (\\Frontdesk-DellPC-244\JoesFiles\Temp\) down to the more memorable "Z:\Temp". The process for creating a mapped drive is given below:
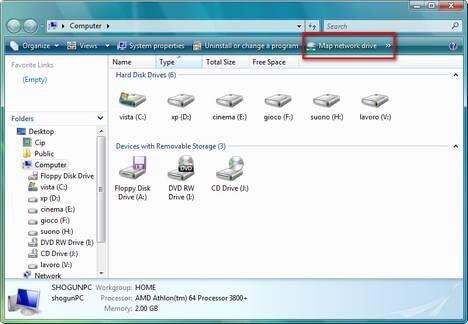
Step 1 - Click on the Computer shortcut from your desktop or from the Start Menu. In the toolbar you will find several buttons, including one called Map network drive.
Step 2 - Click on it and the Map Network Drive window will open. First, you need to assign a drive letter for the connection (we recommend using "S:" for server, but any letter not being used will work). Then click Browse to find the folder you want to map (look in Network Places first). You can also type the full path in the box if you know it. Click "Reconnect at logon" so that each time your computer restarts it looks for the mapped folder.

NOTE: If you are having trouble finding the database folder on your network using Browse, first try typing it's path directly into the box. Also, verify that the folder was correctly set up for sharing on the remote computer, that the correct username and password have been entered (if necessary), and that the computer network connections are functioning properly.
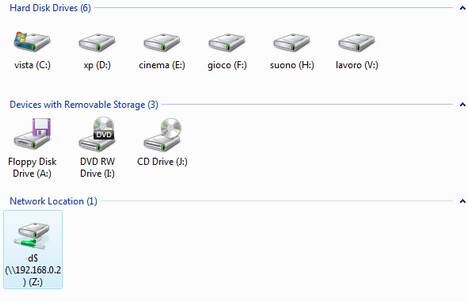
Step 3 - Click on Finish and the drive mapping will be created. You can verify the success of your mapping by looking at Computer shortcut again where you will see that a new drive having the letter you assigned is listed. You can access at anytime just by double-clicking it (or, more importantly, the ezHealthWare software database can now be easily referenced using the just the new drive (for example "S:\ezHW_Data\ezDB.dez").