|
Visual Acuity Tool |
  
|
|
Visual Acuity Tool |
|
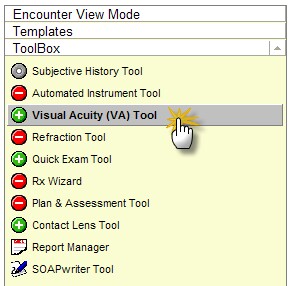
The Visual Acuity (VA) Tool is the primary method to enter acuities, although the Contact Lens tool may also be used to enter contact lens acuities when doing a Fit Assessment. To open the VA Tool, click the item on the left side menu:
The VA Tool has two primary parts: the Visual Acuities list which can display up to 3 sets of acuities and the VA picker tool which allows quick selection of acuities.
Visual Acuities List
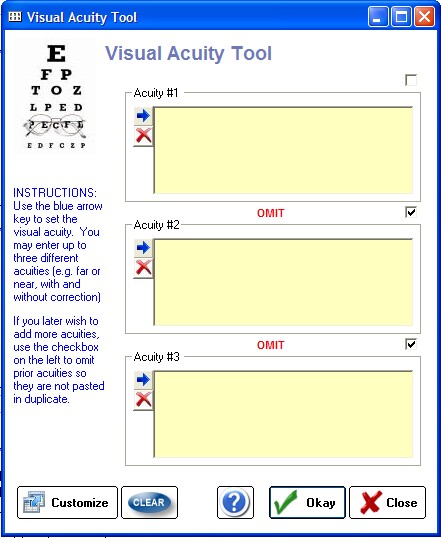
With the Contact Lens list you can do four functions: (1) add a VA set, (2) edit/modify VA set, (3) omit a VA set and (4) delete a VA set.
Adding Visual Acuities
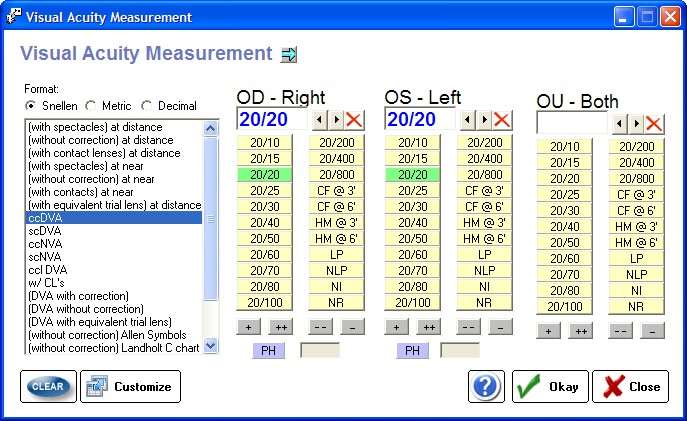
Click the Blue Arrow button to call up the Acuity Measurement Tool. You can do this for any of the three boxes, but start at the top and work down to keep the numbering system correct.
Modifying the Visual Acuity
You can modify a selected acuity in two ways: by re-clicking the Blue Arrow button (which requires you to re-enter data) or by editing directly in the VA box. You can add specific notes also without entering VA's (e.g. "child uncooperative, unable perform VA").
Omitting the Visual Acuity
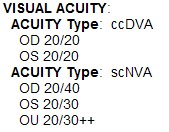
When you click Okay on the Visual Acuity List, the VA's are inserted into the patient's encounter. If you later need to add another acuity, the prior acuity should be indicated as "Omitted" (by checking the upper right checkbox next to the acuity) so that they next one you enter is in the correct order. In other words, don't delete or overwrite the existing VA, simply add to the next available box. Acuities in this manner will appear like so in the chart:
Deleting the Visual Acuity
You can delete any acuity (before it is inserted into the encounter) by clicking the Red delete button under the Blue Arrow button. NOTE: To delete an acuity that has already been inserted into the encounter requires you to manually edit the encounter text.